Your private ssh keys do not copy over with a sudo dolphin! You must use bash in Kubuntu.

I’m glad I keep good backups. When backing up your Kubuntu box, do not just drag and drop one home folder from a hard disk to another hard disk.

Your ssh keys will not be copied over, even though you may have opened the Dolphin file manager over with the command

sudo dolphin

To ensure you have admin privileges over the copy procedure.

Instead, you should use a full copy command like this to ensure that you get everything, including files with 0400 permissions and all hidden files and folders (anything with a dot in front of it like this: ‘.ssh’).

sudo cp -R /home /your/backup/location/home

I’d normally cite some links to help you see more about this problem, but I discovered this one the hard way myself.

How to play Amazon Instant Videos on Ubuntu/Kubuntu Raring Ringtail 13.04 with Firefox

We’re all aware that there are issues with Flash and playing streaming videos on Linux. You can’t play AIV on Chrome; you’ll get that annoying “If you’re using the Chrome browser with Linux, you must disable PPAPI to continue using Amazon Instant Video. You can also use a different Web browser, like Firefox. Learn more” message. Just use FF for now to play AIV. At least you’re not using Wine. So, let’s solve your real problem.

Having trouble playing Amazon Instant Videos on Firefox? Have you seen this message?

“Sorry we were unable to stream this video. This is likely because your Flash Player needs to be updated.”

Here’s how to handle this.

sudo add-apt-repository "deb http://archive.canonical.com/ $(lsb_release -sc) partner"

sudo apt-get update && sudo apt-get install flashplugin-installer

sudo apt-get install hal -y

sudo mkdir /etc/hal/fdi/preprobe

sudo mkdir /etc/hal/fdi/
information

/usr/sbin/hald --daemon=yes --verbose=yes

rm -rf ~/.adobe

Now, go restart Firefox, and you should be good.

With thanks to:

http://www.liberiangeek.net/2013/03/install-adobe-flash-player-in-ubuntu-12-10-13-04-raring-ringtail/

and

http://askubuntu.com/questions/286297/is-there-a-work-around-to-get-protected-hulu-or-amazon-prime-instant-videos-work

Set up Kubuntu 12.10 and an HP printer for batch scanning in Xsane

This process needs to be much easier, but until then, here’s a script to get you set up. This is an update of an older post here: http://thetarah.com/2010/10/12/how-to-batch-scan-using-xsane/ to make this more intuitive. Instead of having you follow a long list of instructions, I’ve been testing out scripts to get my common tasks done upon my numerous Kubuntu rebuilds. I have to redo a lot of the things that I’ve posted instructions on, so I’m going to start building and posting helper scripts instead. It’s a good habit to be in anyway. I rebuild my Kubuntu box about once every two months because I am constantly breaking things.

As previously mentioned, I have an HP OfficeJet 6500 Wireless All-In-One. I am using the HP OfficeJet 6500 e709n, hpcups 3.12.6 driver; you should choose whatever driver is recommended for you. Cups printing seems to work
better and be less buggy, especially over the network. Please understand that the following script is imperfect and totally tailored to my hardware; you may need to break it apart and run it piecemeal depending on your setup. However, this should help. As usual, the links that helped me are at the bottom. Nota bene: you may need to rerun ‘hp-check –fix’ two or three times to have it complete all the repairs it needs.


#!/bin/bash
sudo apt-get install xsane libsane-extras hplip-gui -y
name=$(whoami)
echo "$name"
sudo usermod -G saned -a $name
sudo usermod -G scanner -a $name
sudo usermod -G lp -a $name
echo hpaio >> /etc/sane.d/dll.conf
hp-setup
hp-check -r
hp-check --fix
sudo reboot

https://help.ubuntu.com/community/CompileSaneFromSource
http://ubuntuforums.org/
showthread.php?t=1878250

https://bugzilla.redhat.com/show_bug.cgi?id=626984
https://answers.launchpad.net/hplip/+question/159829
https://bbs.archlinux.org/viewtopic.php?id=65431

Google Chrome Will Not Start In KDE (Kubuntu 12.10)

Have you had this problem in KDE? I’ve clicked a few times on a Google Chrome shortcut, and after 20-30 seconds of a bouncing Chrome icon, it disappears. The Chrome process never shows up in the System Monitor or in running processes, either.


/ Greetings, Madam. $google-chrome --enable-logging --log-level=0
Fontconfig warning: "/etc/fonts/conf.d/50-user.conf", line 9: reading configurations from ~/.fonts.conf is deprecated.
No bp log location saved, using default.
[000:000]
Browser XEmbed support present: 1
[000:000] Browser toolkit is Gtk2.
[000:000] Using Gtk2 toolkit
[000:069] Starting client channel.
[000:069] Warning(clientchannel.cc:435): Unreadable or no port file. Could not initiate GoogleTalkPlugin connection
[000:069] Warning(clientchannel.cc:410): Could not initiate GoogleTalkPlugin connection
[000:069] GoogleTalkPlugin not running. Starting new process...
[000:070] Warning(pluginutils.cc:268): Failed to get GoogleTalkPlugin path. Trying default.
[000:071] Started GoogleTalkPlugin, path=/opt/google/talkplugin/GoogleTalkPlugin
[000:072] Waiting for GoogleTalkPlugin to start...
ALSA lib pcm_dmix.c:957:(snd_pcm_dmix_open) The dmix plugin supports only playback stream
ALSA lib pcm_dmix.
c:957:(snd_pcm_dmix_open) The dmix plugin supports only playback stream
[001:104] Attempting to connect to GoogleTalkPlugin...
[001:104] Read port file, port=51719
[001:105] Initiated connection to GoogleTalkPlugin
[001:216] Socket connection established
[001:216] ScheduleOnlineCheck: Online check in 5000ms
[001:305] Got cookie response, socket is authorized
[001:305] AUTHORIZED; socket handshake complete
[006:300] HandleOnlineCheck: Starting check
[006:301] HandleOnlineCheck: OK; current state: 3

This isn’t going to be as much help as you’d hope; this post is more to show you that others have had the same problem and you’re not nuts. I don’t usually do this, but I just rebuilt my Kubuntu box two days ago after mucking about with perms (I also took remote controls apart as a kid) and lost the problem I was having here. I wanted folk to know that there was a problem with this build of Kubuntu and Chrome together. Below, someone notes that they got the
problem solved by using a different rendering system. I’m happy to answer questions about my experience with the issue and help out if I can.

http://code.google.com/p/chromium/issues/detail?id=51285
http://www.linuxine.com/story/solved-font-rendering-different-qt-and-gtk-chrome-vs-firefox
http://www.linuxquestions.org/questions/linux-software-2/google-talk-plugin-still-not-working-4175423464/

How to fix KDE, LibreOffice, and dark themes in Kubuntu

I need to use a dark theme in KDE because I spend so much time on the computer that my eyes get tired of looking at whiteness all the time. I use a very dark theme to minimize the strain on my eyes. If you use LibreOffice and a theme such as Zvon Black, you may have found that your background is totally black and you cannot read documents. Here is the fix:

  1. Download this icons file called “images_crystal.zip”
  2. At the command line, run this command, altering to match your username and possibly your file location if you do not have it in /home/username/Downloads.

    sudo mv /usr/share/libreoffice/share/config/images_crystal.zip /usr/share/libreoffice/share/config/images_crystal.orig.zip
    sudo mv /home/username/Downloads/images_crystal.zip /usr/share/
    libreoffice/share/config/images_crystal.zip
  3. Open LibreOffice. Tools –> Options –> View –> Change “Oxygen” [or whatever other theme you’re using] to “Crystal”. Go to Colors after View. Change the background color to white and the font color to black.

I took several sets of instructions from several sources, updated them, and created a simplified howto here.

Thanks to:
http://notsonoblednd.blogspot.com/2012/02/making-libreoffice-behave-in-dark-kde.html
http://gnome-look.org/content/show.php?content=143474

Triple booting Linux distros with a mix of GRUB2 and GRUB legacy, Part 2

Instructions on how to multi-boot with a mix of legacy and 2.

DISCLAIMER: this method erases your entire hard drive and repartitions it. If you are uncomfortable mucking about with partition tables, go look at some beginner resources and tutorials on fdisk, gparted, and disk partitioning in general. This is not a method or tutorial intended for n00bs; there are some advanced concepts here. Be prepared to start from the beginning a few times if you mess up; since you’re wiping and repartitioning from the start, you won’t have lost anything but time. I restarted this a couple of times before I got it right.

THEN I wrote it down so I could look all smart and stuff.

DID YOU BACK UP AND REMOVE ALL DATA FROM THIS DRIVE? If so, proceed.
_______________________________________________________

    (1) Determine in advance which distros use legacy and 2.

    (2) Pick the legacy distro which has the easiest, most
    attractive boot screen. In my case, it was openSUSE.

    (3) Get ready to use that one first.

    (4) Use an Ubuntu LiveCD (even if you’re not planning on installing this distro, since the Ubuntu LiveCD is the most intuitive and useful) to boot from CD. Do not install anything at this time.

    (5) Using your favorite disk partitioning tool (gdisk, fdisk, gparted, etc), partition your hard drive into: (1) a teeny boot partition; (2) swap area; (3) root partitions for each of your distros that are at least 10GB in size; (4) home partitions for each of your distros that are at least 10GB in size; (5) a mega big data partition.

    (5a) To install and use gdisk from the Ubuntu LiveCD, open a browser, go here: http://sourceforge.net/projects/gptfdisk/files/gptfdisk/0.6.10/gdisk_0.6.10-1_i386.deb/download, download it to any folder (the default will be /Desktop), open a terminal shell, navigate to that folder, and use this command: sudo dpkg -i gdisk_0.6.10-1_i386.deb.

    (5b)
    Instructions on using gdisk (with thanks to srs5694 from the Ubuntu Forums) if necessary:

    (5c) Boot an Ubuntu installer or an emergency disc, like Parted Magic or System Rescue CD. If using an Ubuntu installer, boot it into a recovery mode so that you can get a shell rather than booting straight into the installer.

    (5d) Launch a text-mode shell. If you’re using an Ubuntu installer, type “sudo apt-get install gdisk” to obtain and install GPT fdisk (gdisk). If this doesn’t work, use the method I described above to get gdisk.

    (5e) Type “sudo gdisk /dev/sda” (you can omit “sudo” on some emergency disks).

    (5f) Type “o” and answer “y” to the verification prompt to create a fresh partition table. Note that this will wipe out all your existing partitions.

    (5g) Type “n” to create a new partition. Give values of: partition #1, start sector 2048, end sector +1M, hex code of EF02. This creates the BIOS Boot Partition.

    (5h) Type “n” to create another new
    partition. Give values of: partition #2, hit enter for the default start sector, end sector +20G (or however big you want the Ubuntu main installation to be, minus space for your user files), hex code of 0700 (the default). This creates what will be the Linux root (/) partition.

    (5i) Type “n” to create another new partition. Give values of: partition #3, hit enter for the default start sector, end sector +2G (or however big you want to make your swap space), hex code of 8200. This creates a Linux swap partition.

    (5j) Type “n” to create another new partition. Give values of: partition #4, hit enter for the default start sector, hit enter for the default end sector (to use the whole disk), hex code 0700 (the default). This creates what will be the Linux /home partition. If you want other partitions, you should set some other end value and create additional partitions at this point.

    (5k) Type “p” to review your partition table. It should have an EF02 BIOS Boot Partition, two
    Linux/Windows data partitions, and a Linux swap partition. If it doesn’t, correct the problems or quit by typing “q” and start again.

    (5l) Type “w” to save the partition table.

    (5m) If necessary, reboot into the Ubuntu installer; or just launch the installation process. When you get to the disk partitioning section, tell the system to do custom partitioning, but do not start from scratch. Instead, tell it to use /dev/sda2 as root (/), /dev/sda3 as swap, and /dev/sda4 as /home. (Adjust these partition IDs as necessary, if you deviated from the numbers I specified earlier.) The installer will create new filesystems or swap space on these partitions. You should not tell the installer to do anything with /dev/sda1; when the system installs GRUB, the GRUB installer should use /dev/sda1 automatically.

    (6) Now, install your chosen legacy distro to the first root partition you want, with its data at its own home. Mount the big data partition as /data or whatever you want. Do not mount
    the other partitions; those are for your other distros.

    (6a) When installing the bootloader, specify that it’s to be installed to the hard disk. Grub legacy will find the mini partition and do its thing.

    (7) Check to find out if the BIOS partition has its boot flag flying.

    (7a) Boot a live disk of some kind; Ubuntu LiveCD works.

    (7b) Launch a shell.

    (7c) Type “sudo fdisk /dev/sda”.

    (7d) Type “p” to view the MBR partition table. It should show one partition, with “ee” in the “Id” column. This is normal, even though you created several GPT partitions. Is there a ” * ” under the Boot column? If not, proceed with steps 7e-7h.

    (7e) Type “a” and enter “1” (or whatever the partition number is) when prompted.

    (7f) Type “p” again. You should now see an “*” under the “Boot” column.

    (7g) Type “w” to save the changes.

    (7h) Remove the emergency CD and reboot. You should not need to re-install.

    (8) Install the other
    distros to their own root partitions; the legacy ones first. You may need to reflag the BIOS boot partition after each install; you DEFINITELY need to specify that each distro’s bootloader is to be installed to its own root partition. IF YOU DO NOT DO THIS, YOU MAY OVERWRITE THE BIOS BOOT PARTITION AND NEED TO START FROM THE BEGINNING.

    (9) Install any Grub 2 distros, also specifying the bootloader installation to their own root partitions.

    (10) Run sudo update-grub from your first distro. After booting, check to make sure that you have boot options for each of your other distros. If not, you may need to add chainloading boot entries.

    (10a) For further discussion on chainloading (dead simple and requires minimal editing of your /boot/grub/menu.lst file), see here: http://www.linuxquestions.org/linux/answers/Applications_GUI_Multimedia/Chainloading_in_Linux

After each install, I checked, updated grub, added the relevant entries, reflagged the boot partition,
and by the time I was done, I was triple booting.

Any questions?

Triple booting Linux distros with a mix of GRUB2 and GRUB legacy, Part 1

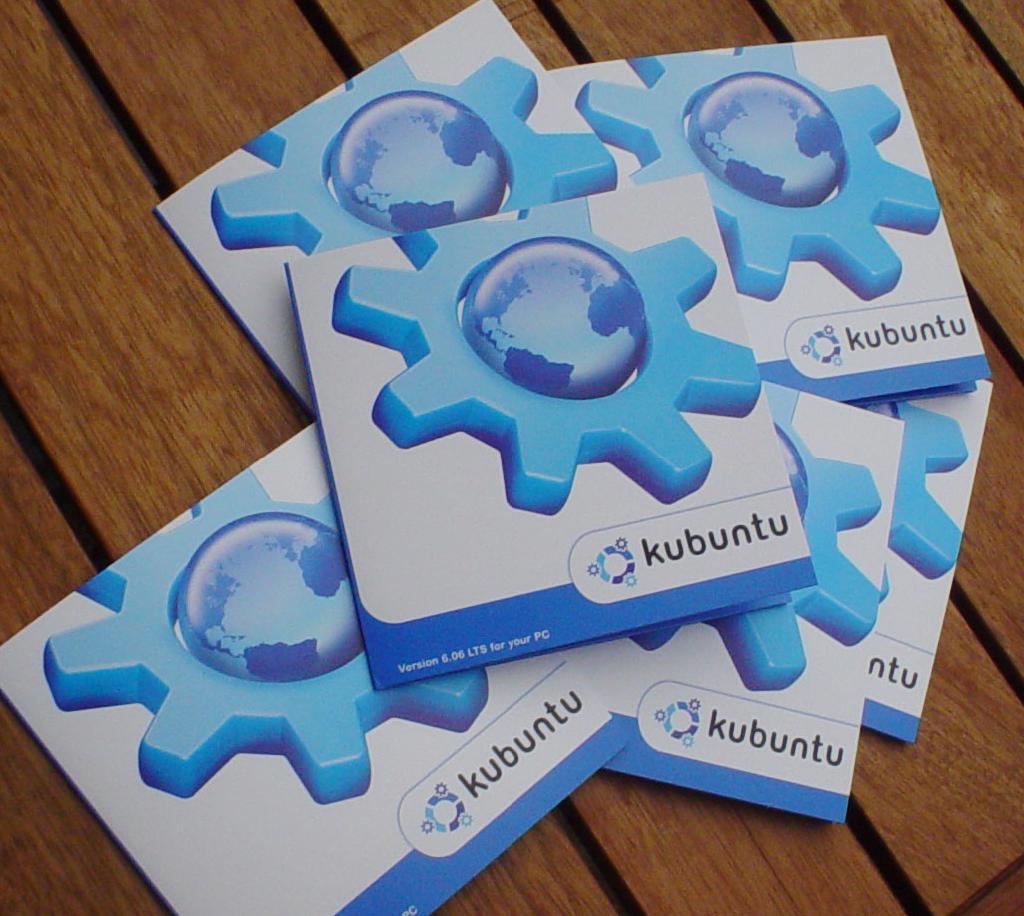
I’ve been experimenting with other distros. I just got a 2TB internal Western Digital Caviar Black, and there’s just too much room there NOT to create nine partitions and get my distro freak on.

I know, Kubuntu baybee, but it’s not you, it’s me. I just can’t stay faithful to one distro, and you KNEW that when you seduced me with your ease of installation, friendly user community, and sexy Compiz+KDE desktop. Let’s still be friends, and you’ll always be my main squeeze.

As with so many other things, as long as you know how to do it, it’s easy. If you don’t, it will be the little things that trip you up. In my case, it is a buggy BIOS version. I have to reflag the BIOS boot partition each time I install another OS.

Should you want to be Crazy In Love with many different distros, you are likely to run across the issue of a mix of GRUB legacy and GRUB2. These are bootloaders–the things that make your hardware know what
software to run. There’s a leetle tiny bit of code at the beginning of each bootable hard drive that tells your machine that there’s an operating system available to run the machine. That’s the MBR–the master boot record.

I had a hellacious time figuring out why my BIOS wouldn’t find a working OS any time I installed a grub legacy OS to another partition (since grub2 was loading my Kubuntu installation). I still don’t know why chainloading grub through grub2 will NOT work with my BIOS, and chainloading grub2 through grub legacy works like a dream, but it seems like the sort of arcane knowledge only possessed by Elminster or Gandalf.

So, the recommendation from yours truly? Use a grub legacy distro to write to the MBR and use that to chainload grub2. Instructions to follow in the next post 😉